Farcaster Channels
Warpcast has drastically changed the way channels work in the second half of 2024. Past members have been converted to followers of the channel, and moderators now have the ability to gate entry to their channel.
Since Warpcast does not offer a built in solution to do this, we can use Frameyon to create our own Frames without going through the hassle of hosting and writing code.
With a fully visual editor and unlimited customization, Frameyon can help us create a Frame for our channel that collects user’s input before giving them access to your channel.
Creating a Form Frame

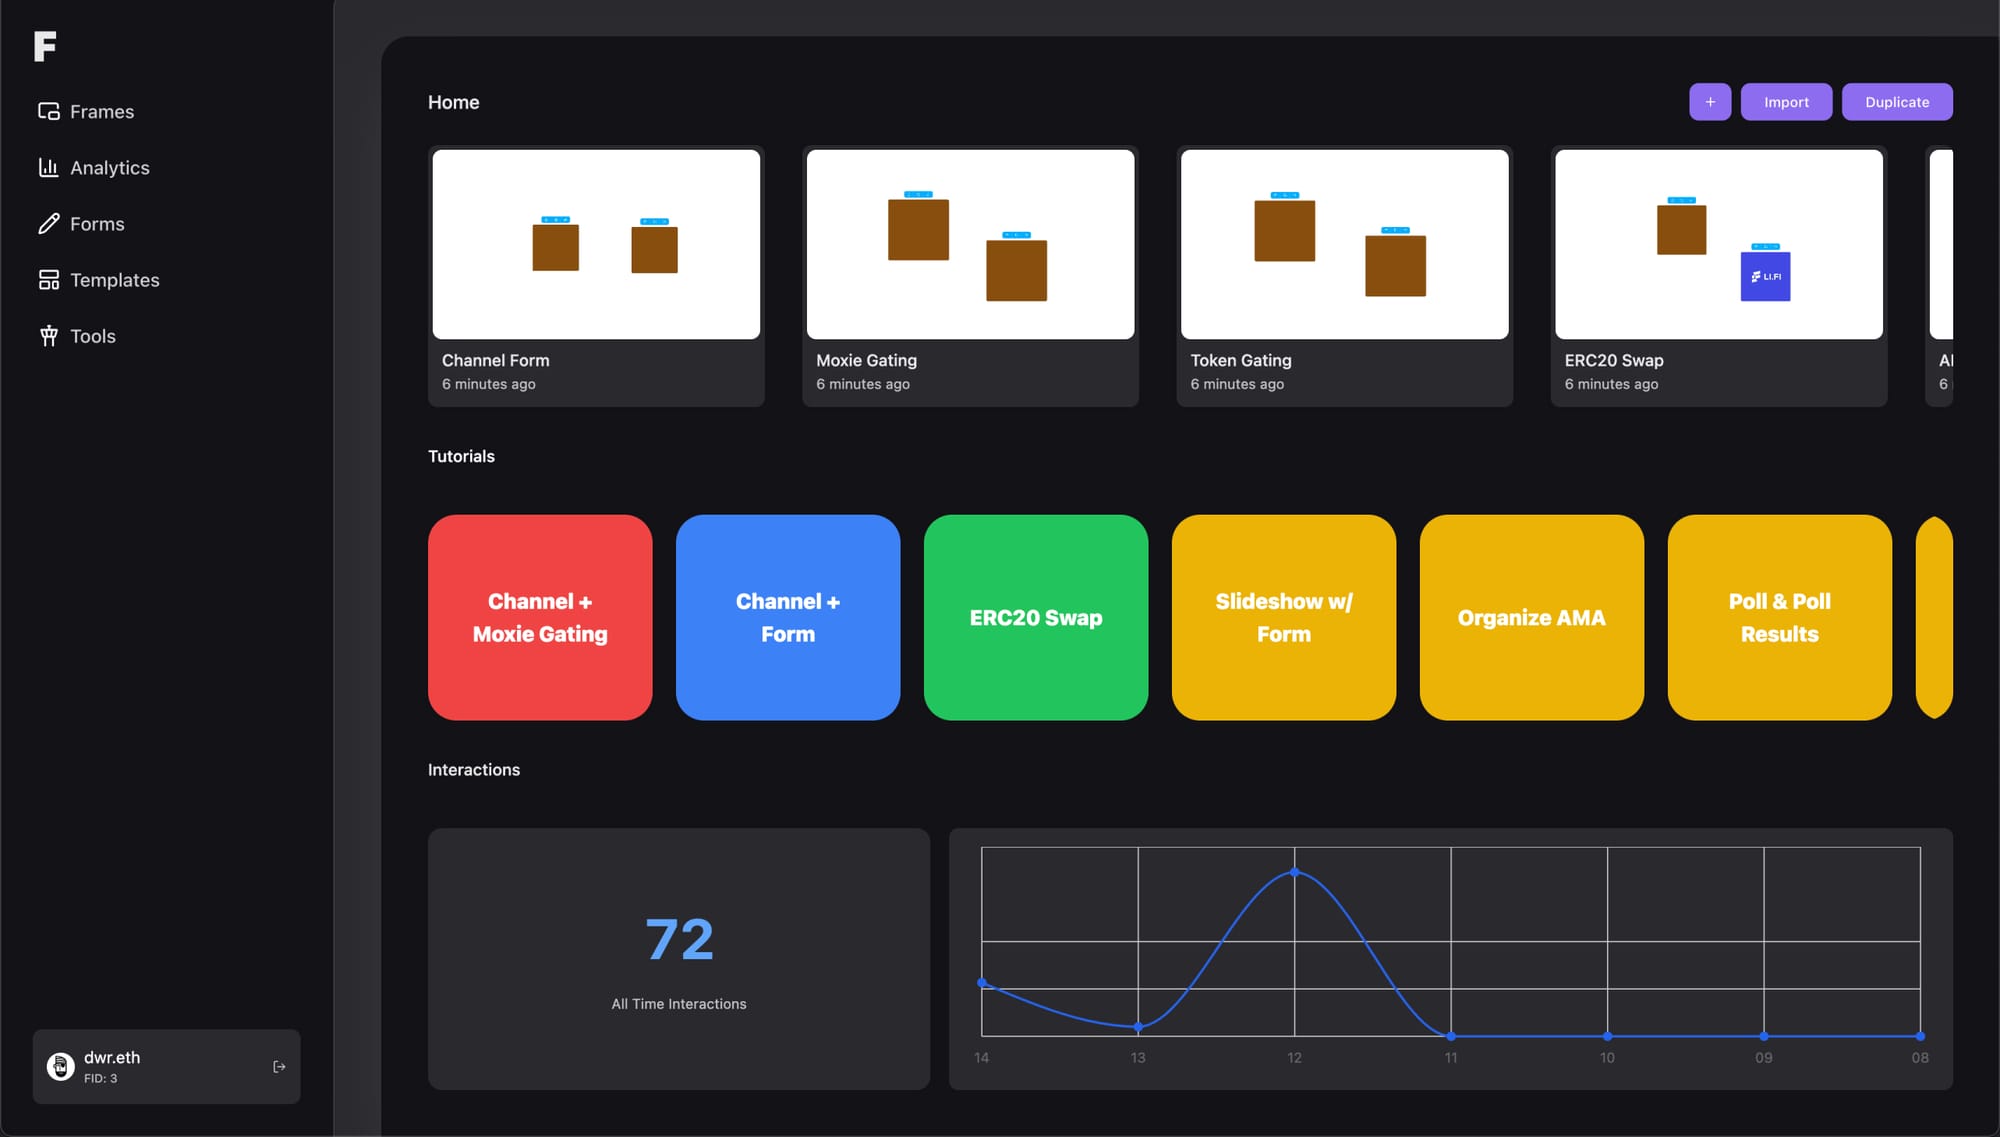
The first time we open Frameyon we see our dashboard, showing us the number of recent interactions and a list of recent Frames. Tap the + button to create a new Frame. Once we’re in the editor we can start adding pages and configuring our Frame.

We have full control over our Form and how users interact with it. This means we can attach it to any page, so let’s create an Image page to attach it to. On the bottom of the sidebar we can give each page a name, which is not published but useful for keeping track of pages in the editor.
We can add as many pages as we want and have a different field on each one connected to the same form, but today we’re sticking with a simpler version with just one field.

After filling in and submitting we should navigate the user to a new page where they can join the channel. Let’s add a new page from the panel and this time isn’t going to be a GIF.
Feel free to change the default GIF, but I’m going to stick with nyan cat myself.
Managing the Warpcast Channel
Before setting up the last page, we need to generate our channel link. Without it there’s no way to invite new people into the channel. Luckily it takes only 2 minutes to create one, so let’s head over to Warpcast and open our channel. Once there open the channel settings, go to the Invite a member section and generate a link. Keep that link on hand or the page open, as we will need it next in the Frames editor.

Tap on the GIF page and add a new button, the default button type is Link so we only need to change the URL to the channel invite link we generated on Warpcast. Everyone who gets to this screen and taps the button will be invited to the channel.
Publishing on Warpcast

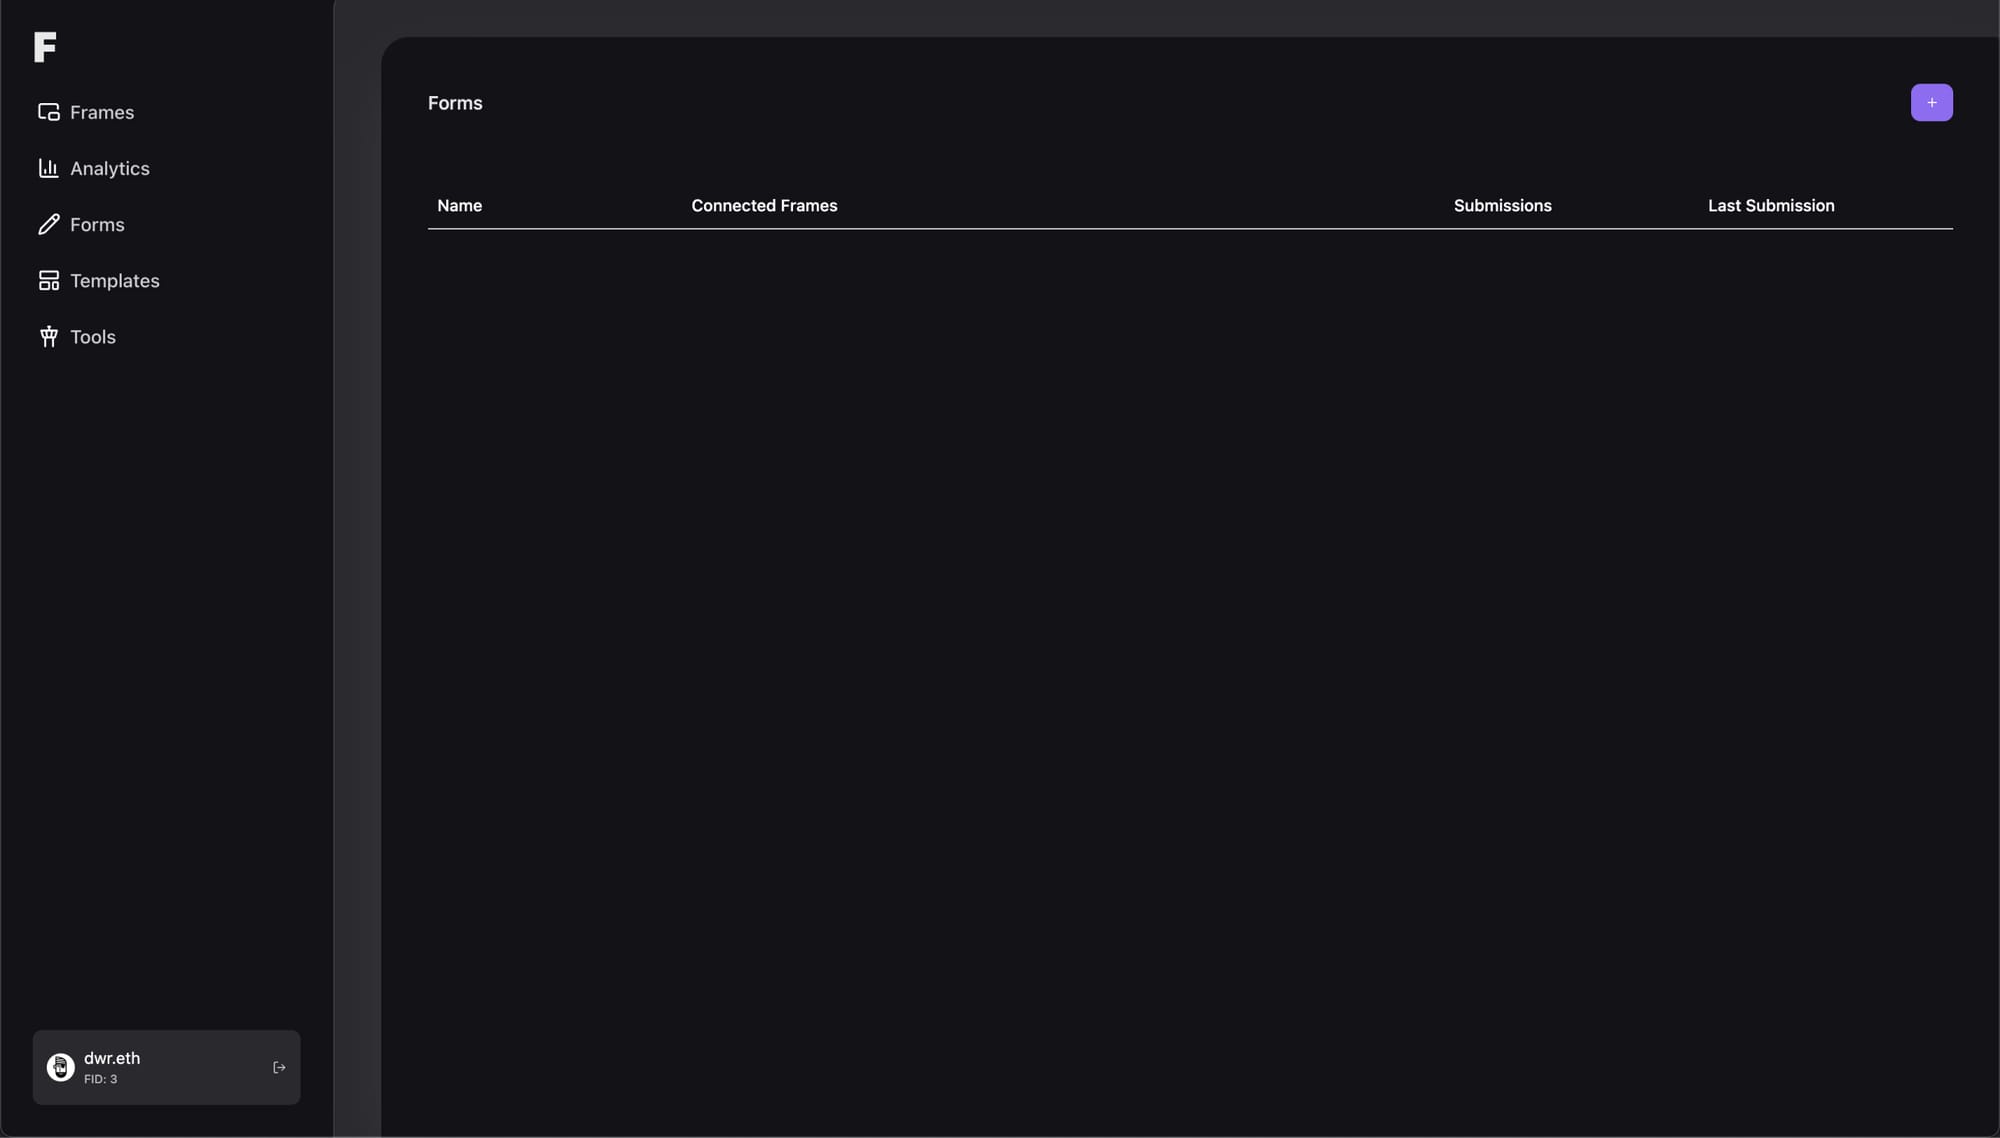
Feel free to add more pages if you want to, but until then we can go ahead and setup the form on the first page. Let's create the form first.

Enable the input field, set a placeholder and then add a button that navigates to the GIF page.

On the GIF page, tap the cog icon to open the Hooks menu. Select the Submit action and connect it to the form you’ve created on the Forms page.

Our Frame is now done and ready to be posted. Tap the Publish button and you’ll get a popup once the Frame is live. Tap Copy to get the public link or click the ▷ icon to test it using the Warpcast Frames debugger.
But Wait, There’s More!
Looking to get deeper into the rabbit hole? Check out more guides below and send us a message @frameyon if you want to build a Frame!
