Farcaster Engagement Boosters
Polls are really good for increasing the number of interactions you get on your posts, and if done right can convert people into active fans and community members. Creating a strawpoll or going to poll-maker, creating a new poll and posting the link on Warpcast kinda defeats the purpose if you ask me. Going to a separate website just to vote when you’re actively browsing your feed would annoy most people. Telling your audience to post a comment with their pick also puts friction between you and the community. What if we could do this directly in the feed, and what if we could do it without writing code and deploying our Frame to a VPS? If you’re readying this you might be hinting that this is possible, that’s what Frameyon does.
Farcaster Frame Creation

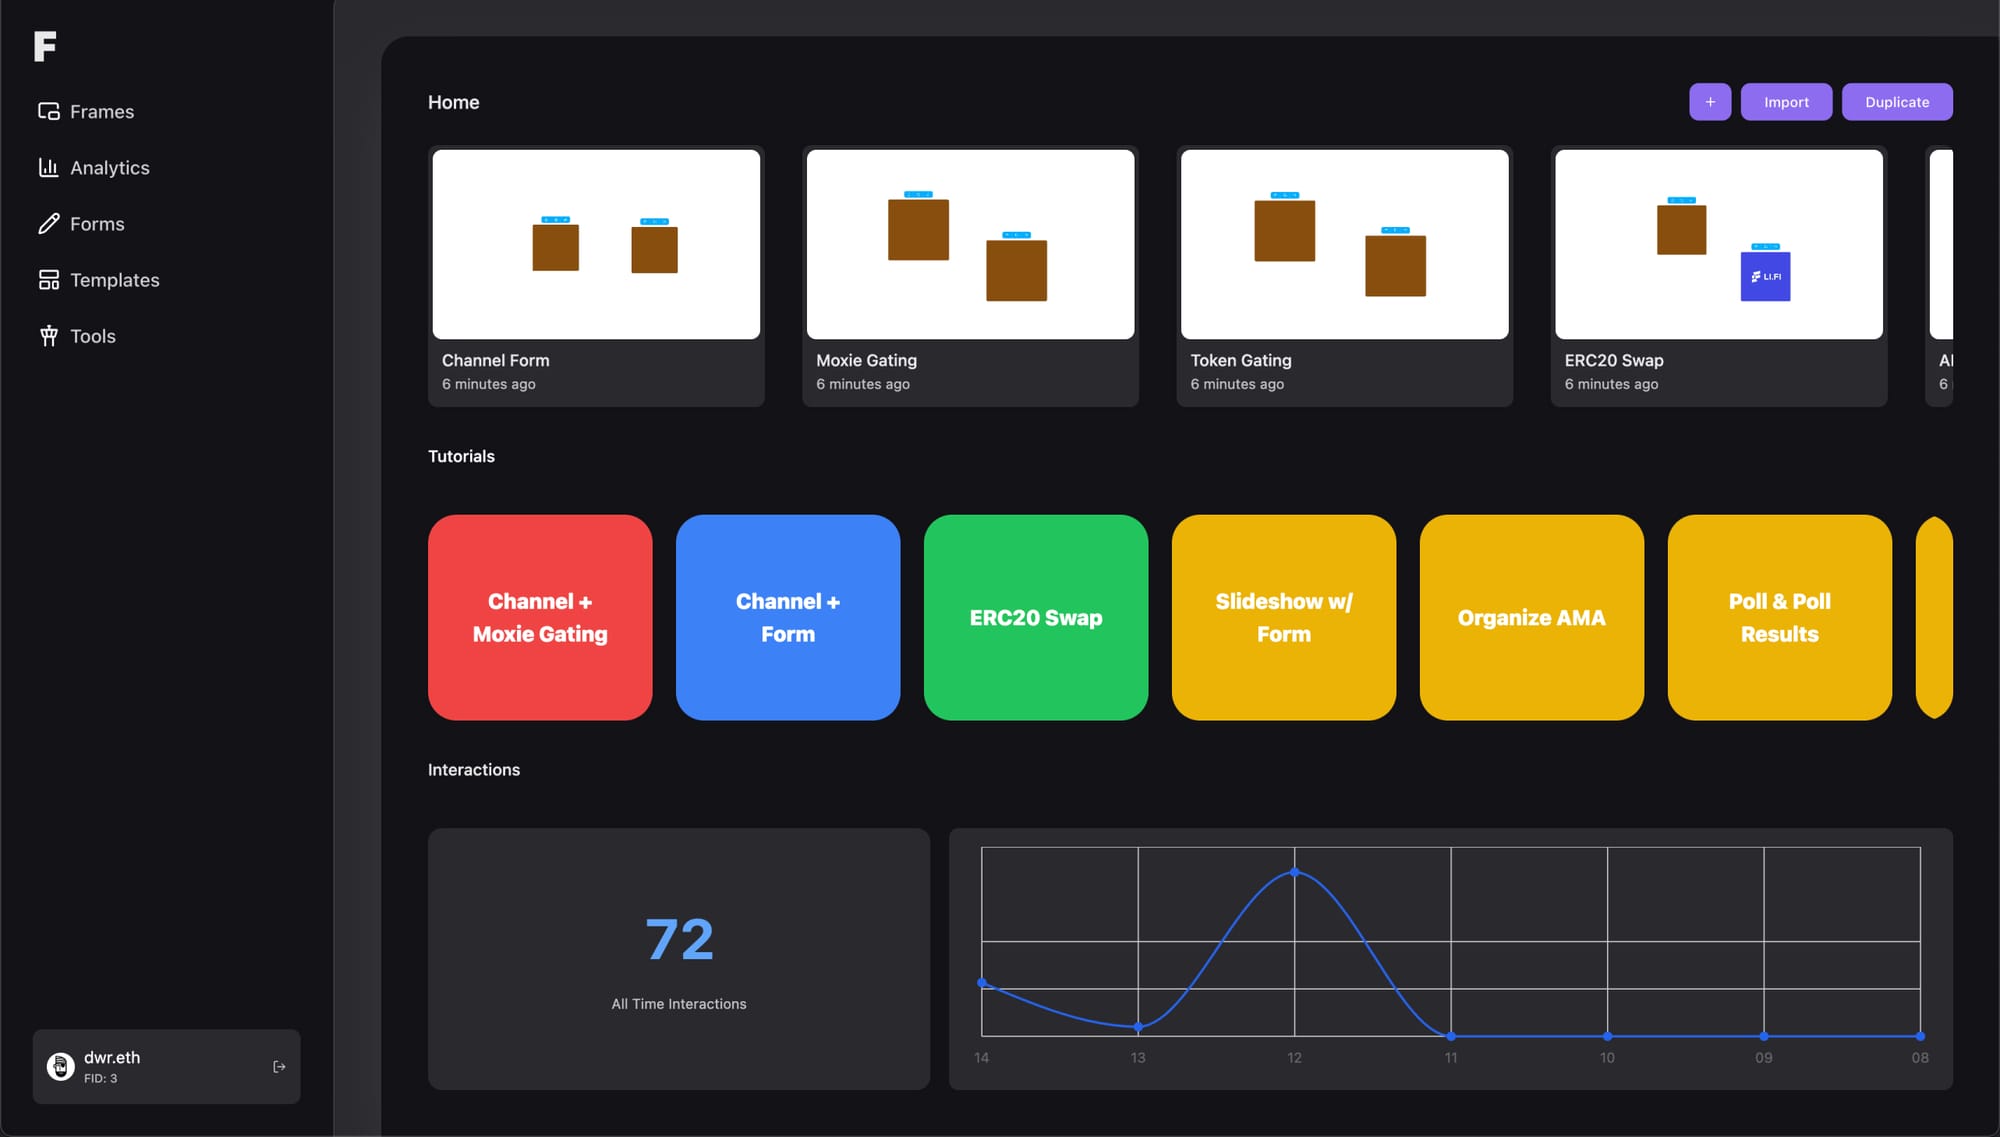
Head to Frameyon and tap the + icon. After opening the no-code Frames editor, we can start building our Frame. We have full control over our Poll and how users interact with it.

This means we can attach it to any page, but we first need a page so let’s create a GIF page and name it Poll (which we must recognize is a very creative name). The name doesn’t appear anywhere public, but comes handy for organization.

We also need a page to display the Poll results, and we can add one from the left panel as well, just look for Poll Results.
Poll Settings
Start by adding a button to your Poll page, we will connect this to the first option in the Poll.

Make sure you give it a relevant name, then tap the cog icon to open the Hooks menu. Why do we need hooks for our Frame? If you want to do something before going to the next page, that’s what hooks are for! We can use them for sending webhooks, gating our Frame, saving form data and lots more, but today we’re focused on creating a poll.

Enable the Poll hook and specify a Poll ID (enter any value here, and use the same ID on the Poll Results page) the option tied to this button. Pressing this button means that option was voted. This is how most polls work, but you can also have something like an “Other” option, and let the user type a custom answer using the input field.

Our first voting option and the button for it are now configured, and we can add 3 more buttons each connected to an option. Unless you want something else to happen, every button should navigate to the Poll Results page.
Nice work! Hard part is done, we only need to display the votes now, so select the Poll Results page and configure the options you want to display.

If you do not want some of the options to appear on this page, you can omit them from the list.
Before Posting
Everything looks good, and we are ready to publish our Frame so let’s hit that Publish button.

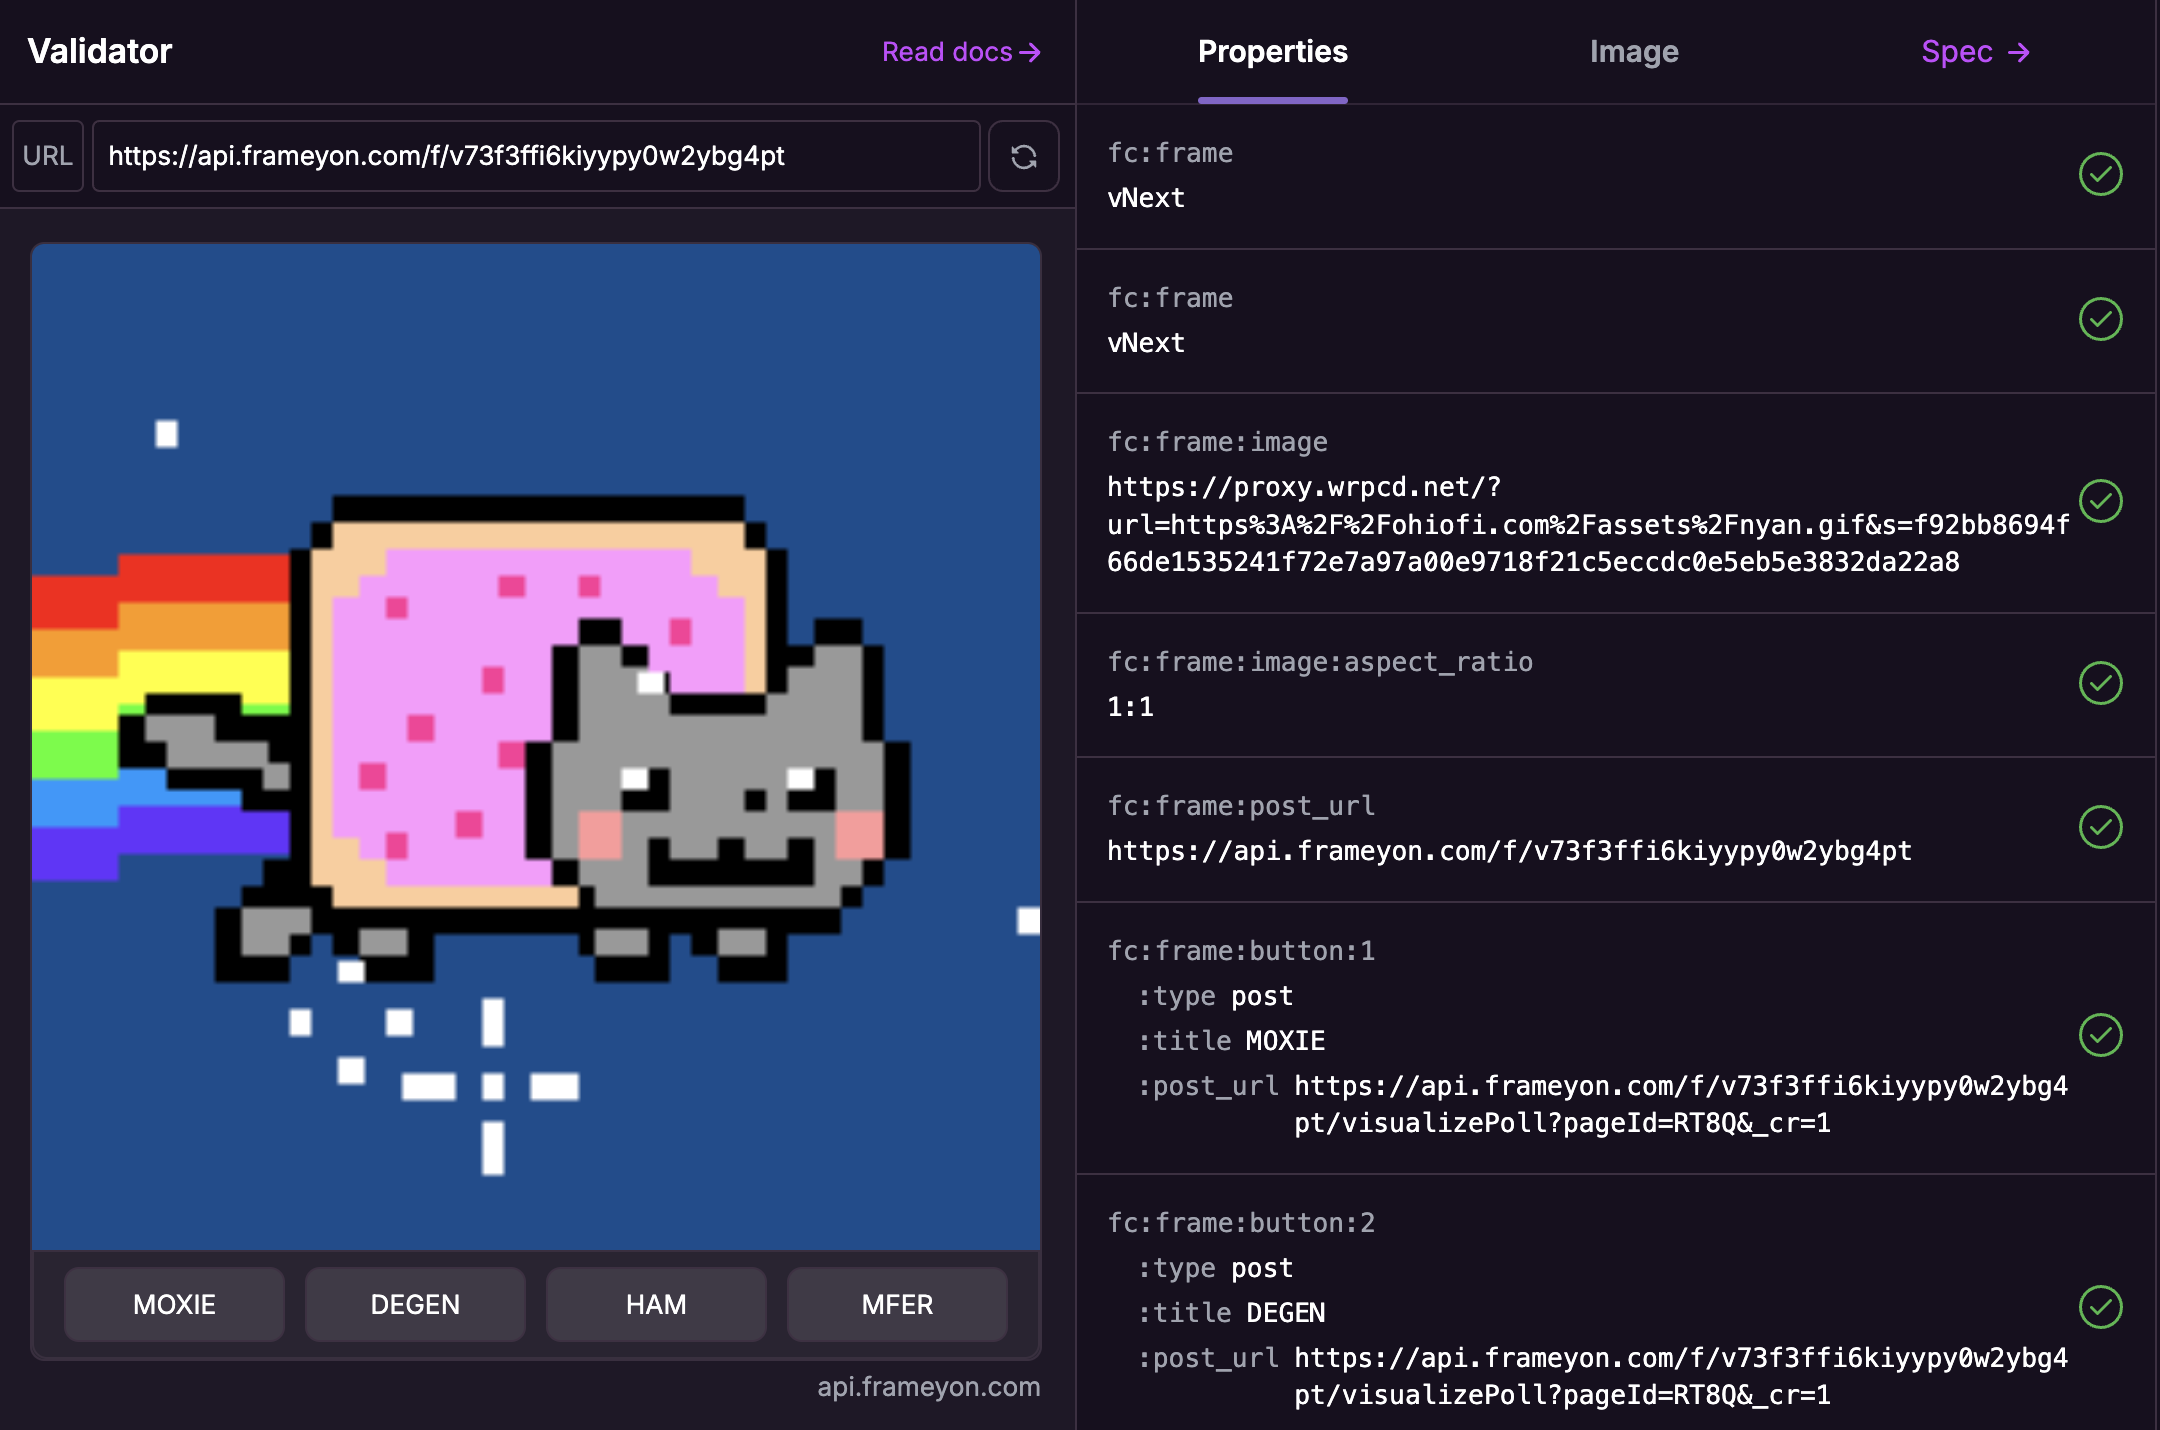
To make sure our Frame works properly we can use Warcast’s Frames Debugger. Either navigate to it manually or tap the ▷ icon in the editor and the debugger will open with your Frame already loaded.

Lookin' good, let’s go to market!
Beyond Polls
We can do so much more with Frames than polls. If you want to host AMAs, invite users to your channel, gate content, swap tokens or embed a blog check out the tuts below:
- Organize an AMA
- Create a Frame to swap your token
- Use Moxie Fan Tokens to gate content
- Collect form answers in a Frame
If you’re looking to learn more about Frames and have a question hit us up @frameyon and we’ll be glad to help!
